This was a difficult session, perhaps because I had had my flu jab the day before, I was a bit off colour and not as 'on it' as I ought to have been. Even so we covered a lot of ground and I learnt a bit more about my own capacity for absorbing knowledge.
The various sections have been put together on the light-box
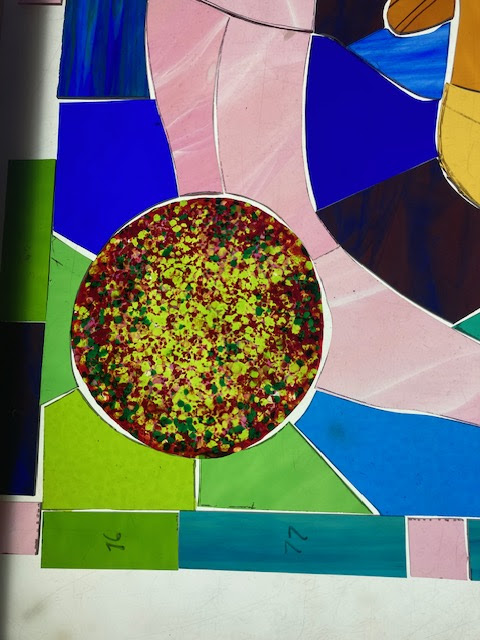
The first part of the session was placing all the components I had cut so far onto the light-box and ordering them, which was a complex jig-saw that I would not have been able to do without all the attached numbered paper templates. This allowed me to see how things were looking and for the first time, I was able to judge how well the various parts would balance. After some thought, we also looked at some more offcuts of colour that could go into the border, but these were not cut to length, just to width, so that later on when it is put together, any changes in size can be accounted for before marking out and cutting.
The heel and fused frit glass section made to represent the heel pain
As I had detached all the numbered paper templates, I decided it was easier to simply number each piece as it was put away, but the templates were saved in case of breakages.
Today was the first day of painting and I had prepared for it by printing off various sizes of my preparatory drawings. Because I didn't have a copy of the cartoon at home I had to guess sizes and of course one was slightly too big and the other slightly too small. (Note to future self make 2 copies of the cartoon next time).
Preparatory sketch for leg
The leg is composed of seven pieces and these were what I was focused on for the rest of the session. Before going any further each piece had to have its edges lightly ground, so that the delicate brushes that I will use, don't get cut to bits by sharp glass edges. Once ground, each piece of glass is washed both sides to remove all traces of grease.
Preparing the palette
The first painting task is to lay a tonal matt over the sections, so that a feeling of light coming in from the right is maintained through all the sections. Using an already set out dry glass palette, my first job was to gradually add tiny amounts of water and to mix and mix with palette knives. This was done on a turned off light-box as it would be hard to assess the mix if the light was on. You are trying to achieve a mound that is stiff and not too runny, and it is so easy to add too much water. Nb when adding water the amount added each time was what adhered to a palette knife blade when dipped into a glass of water; a brush full was too much.
Once ready a large hake brush is used to spread the paint out thinly over the rest of the palette. To do this in single strokes, not by swirling the paint around, which was how I began.
A large hake
Doing it one at a time, to now re-clean the pieces of glass by putting on a very thin coat of watery paint and then wiping it off with a paper towel. You can see immediately if there is any grease left on the glass as the thin paint will be rejected. This is done on a turned on light-box. Once all are clean and the light-box cleaned of any spillage, its time to actually begin painting.
Using the same techniques as before, taking the large hake brush I was able to build up a surface of paint, this time slightly thicker, so I was adding to the mix from my pigment pile. I began on a left hand glass piece as this was meant to be darker and laid the matte ground using long continuous strokes. I then blended these strokes in with a badger brush.
Badger brush
Paper towels are an essential tool, as they are used to keep everything clean
You can do quite a lot with the badger brush, but I found it hard to eliminate streaks. However I persevered and managed a certain amount of gradated shading. I then took a large hogs hair stipple brush, holding it vertically and making light up and down movements, used it to make a lighter stippled tonal value as I shaded the leg from left to right.
Large hogs hair brush
Peli glass are the suppliers of the tools needed. They are all expensive and I will buy some, but not all of the equipment needed, as I'm having to work out what could be a minimal toolkit if I had to work from my own studio.
Cleaning off the right hand side of the paired parts of the leg.
Once the blending was done, I put each pair of glass pieces together on the light-box and adjusted the blend so that it worked across the two pieces and then did the same down the leg as well. I eventually began using a small stencil brush to soften the transition between a wiped off edge and the rest of the matte.
I was now ready to paint the line of the leg. This I found very hard, as it was about getting the consistency of the paint just right and then even when using a rest, I found my line control suspect and eventually decided a little wobble was fine and that I would embed the feeling into the painting as I added the oil based paint later.
Things to remember: Using the tip of the brush only, make a figure of 8 to pick up the paint mix. Test out lines on the palette first and practice doing them in one go. A good line maintains a solid black throughout its length. Nb again I failed several times at this. Sometimes achieving the required blackness for the test line, but not for the actual one. I need far more experience here and you need to re-mix the paint and test it for every stroke, which I found very hard as it went against my normal working methods of responding to things as they happen, as opposed to planning every move.
I had nearly finished these seven sections when I managed to brush one of my finished pieces off the light-box, and onto the floor; it of course shattered. Luckily I still have a piece of pink left, that is big enough to re-cut the foot and I didn't throw away the paper template, but it has put me back somewhat, because all the other pieces are being fired during the week. I shall have to re-cut it next week and lay a graduated tonal matt as well as re-do the line drawing. I should have carefully put each piece away as I did it, but as you also have to keep lining them up next to each other to make sure your line flows smoothly from piece to piece, this is a hard thing to remember to do.
Items ordered in relation to glass painting:
Hake brush, large € 15,50
Matting brush, soft flat hair, 3" € 25,71
Tracing brush, Ox hair, size 5 € 7,27
Matting brush, soft flat hair, 1" € 10,09
On top of this as Peli Glass is based in the Netherlands there was handling and shipment to UK, which was € 26,50
Nb. I decided on ordering a matting brush rather than a badger hair brush as these were over £80 each.
See also:


No comments:
Post a Comment